RSS Feed

“Selfie Slouchie” by Mandie (Tulip and Thistle Crochet)

People who like my page on Facebook Tulip and Thistle Crochet will be in no doubt as to what my favourite yarn is…… Lumio by SMC, US Facebook page. It comes in ten colours, all with a strip of reflector thread running through it.

199
It is like a ball of magic. In broad daylight, it looks just like normal yarn… Until a car with headlights on drives by or someone takes a photo with the flash on. This happens….

051

231

See, magic! 😀 Top photo is taken with the flash off and the bottom with the flash on.

Usually I get bored of hats or forget to take them but I really wanted to make a hat with this yarn. I trawled through millions of hat patterns. Then I saw slouch hats and started leaning towards them.

There are loads of patterns out there, all just not what I was looking for. It was either for another weight of wool or I didn’t have the correct crochet hook for it. So, I ended up winging it and came up with the following pattern.

I came up with the name after I took soooo many selfies to try and capture the shine from the reflector strip.

503 679 680

Only a small selection of selfies.

This particular hat was made whilst sitting in the back of the car between the wee shamrocks so I wasn’t able to write down instructions so this is written from memory.  I have another hat to make soon so I will double check  the instructions.

Or, if anybody has a go at it, maybe you can tell me if I have forgotten something.

UK terms are used in this pattern.

Materials:

8mm hook for the rim
15mm hook for the main part.
1 ball of 150g SMC Lumio, or any other super bulky/chunky wool. Any colour you wish.
Darning needle.
A big button (optional)

Terminology

ch = chain

sl st = slip stitch

dc = double crochet

htr = half treble

tr = treble

tr2tog = treble 2 together

sk 2 = skip 2 stitches

Instructions

With the 8mm hook ch enough stitches for it to fit around your head, ensuring there are no twists in it.
I made a chain of 52 and my head is 55cms circumference.

Sl st to the first chain, ensuring there are no twists.

Row 1-3
Ch1
Dc in each stitch to end. Sl st to first st.

Row 4
Repeat row 1-3 but make the stitches looser to allow the next row easier to crochet with the thicker hook.

image

Row 5 – 7
Using the 15mm hook, ch 2.
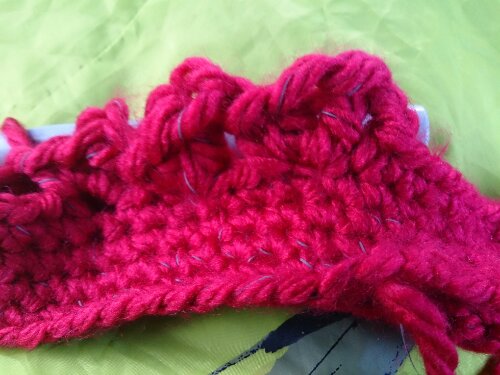
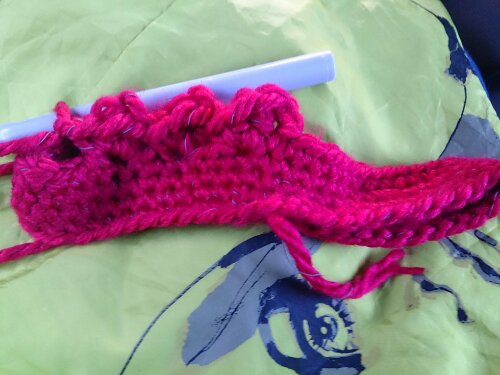
Tr, htr, dc in the next st (3 stitches in one stitch), ch 1, sk 2 st, tr, htr, dc in next st all the way around. At the end, instead of a sl st, carry on in a spiral manner.

If you like a longer slouchie hat, do more rows of the above before decreasing

image

I use the long starting tail as a guide to where the row would start again.

image

ROW 8
Start decreasing

image

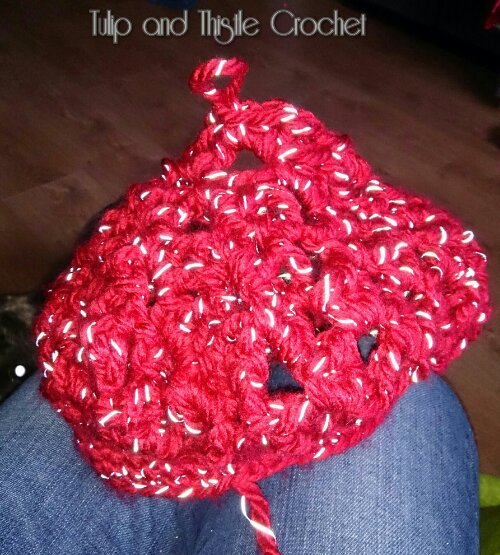
Tr2tog, (yo, hook through ch sp, yo, pull through, yo pull through the first 2 st. Yo, hook through the NEXT ch sp, yo, pull through, yo, pull through first 2 st, yo pull through all 3 stitches on hook.)

Carry on doing htr dc, in 2nd space, ch1.
*Tr, htr, dc, ch1 in the next 4 spaces. Sk 2 st
Tr2tog, htr, dc in 2nd sp, ch1, sk 2 st*

Repeat between *&* until the end of the row, use starting tail as a guide.

Row 9
*Tr2tog, htr, dc in 2nd sp. Ch1. Tr, htr, dc, ch1,  in next 3 sp.*
Repeat from * to * until the end.

image

Row10
*Tr2tog, htr, dc in 2nd sp, ch1,sk 2 st. Tr, htr, dc on next 2 spaces. Repeat from * to end.

Row 11 & 12ll
Tr, htr, dc, ch1, sk 2 st in each ch sp, ch1 all around

Fasten off leaving a long tail. Cut yarn and thread a large darning needle.

image

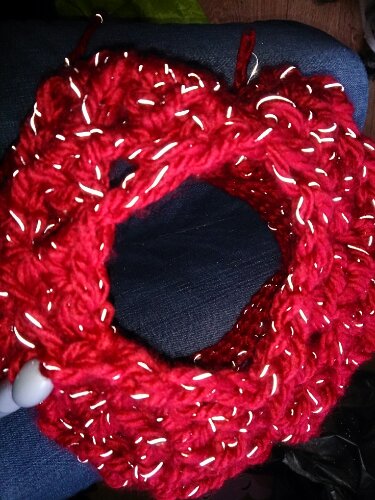
Guide the needle through the top stitches to close the hole.

image

Pull the yarn tight, thread the yarn through to the other side and anchor the yarn so it is secure. To finish off the hat, I double crocheted in every stitch around the rim of the hat to even off before attaching the button.

I ensured that the seam of the rim sat at the back of my head and the “slouch” fell over it. For this hat I placed a button on the left hand side so that the seam (not that noticable but I always notice) will always be hidden. I do not have a button on my hat at time of publish but I will soon.

image

I see that I am still covered in glitter 😀

I gave this one to the Tulip mother. The tulip said it looked like a hat Sinterklaas’ helpers wear. Sinterklaas and his helpers arrived in Holland yesterday 16/11/2013. So this is a present to celebrate that.

If you come across anything on this pattern that didn’t work,  please let me know 🙂

Enjoy!

Edited to revise the pattern…

Making tablet

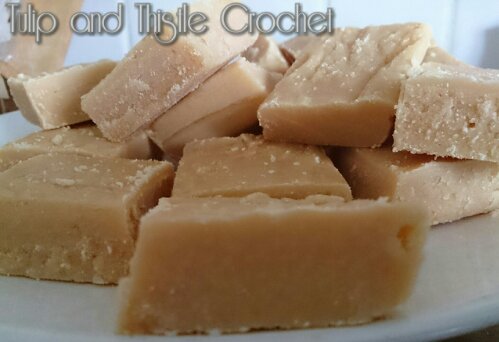
Tablet, of the sweet variety is said to come from Scotland.

It is similar to fudge in colour but has a hard, crumbly, melt in your mouth texture.

Tonight I made a batch for biggest shamrock’s school to sell at the jumble sale.
Since a few people asked for the recipe, I thought I would write it here.

Edited to add photos and tweak.the instructions.

So, you will need ;

a HUGE heavy based pan. Non stick won’t be good for this.
A long handled wooden spoon.
A glass of water
Teaspoon
A plate to rest your spoon. This will also help you gauge the difference in colour.
A buttered large shallow baking tray.

INGREDIENTS

1kg granulated sugar
100g butter
Tin of condensed milk (397g) I prefer to use Farmlea or Aldi version.
A cup of milk.
Vanilla (optional)

METHOD

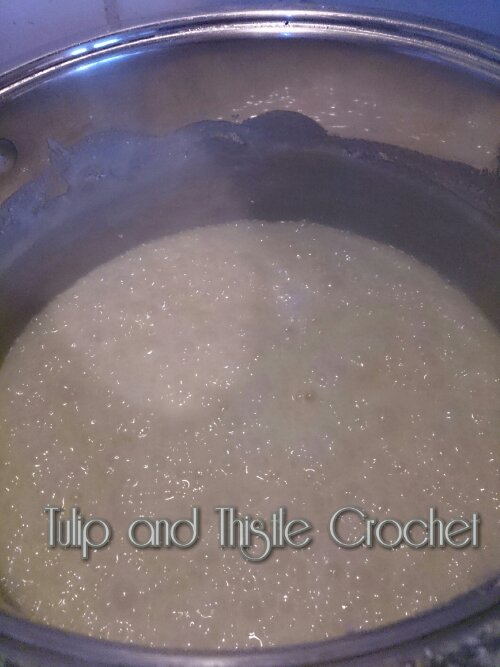
Pour the sugar into the pan, add the milk, stir until it starts to melt, add butter over medium heat, keep stirring until the granules have melted.
Slowly bring to the boil then pour in the condensed milk.  Raise the temperature and bring to the boil. Stirring all the time.

image


BEWARE this mixture is extremely hot so please be careful when stirring.


image

image

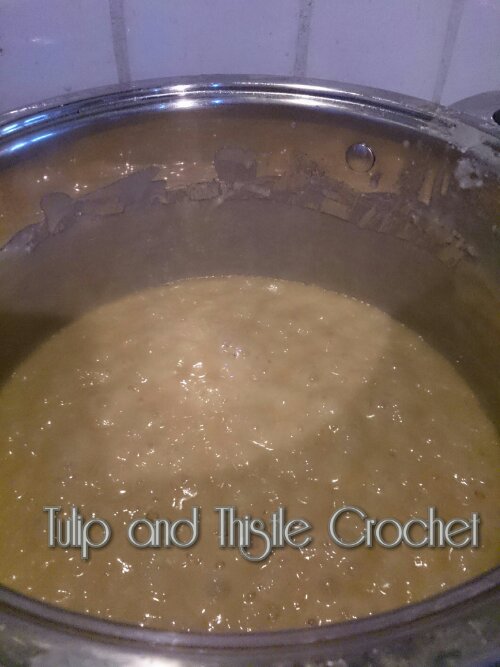
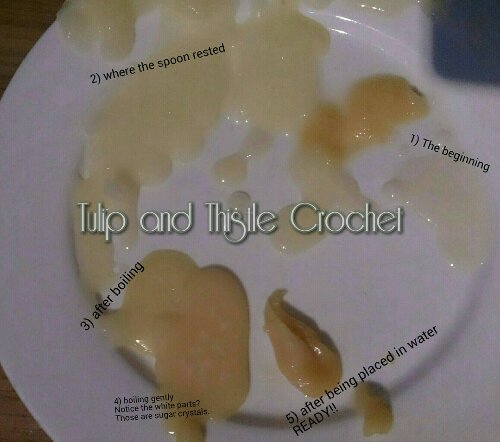
The plate shows how the colour begins to change.

image

Still stirring the mixture, reduce the heat until the tablet simmers gently.

Stir continuously.

image

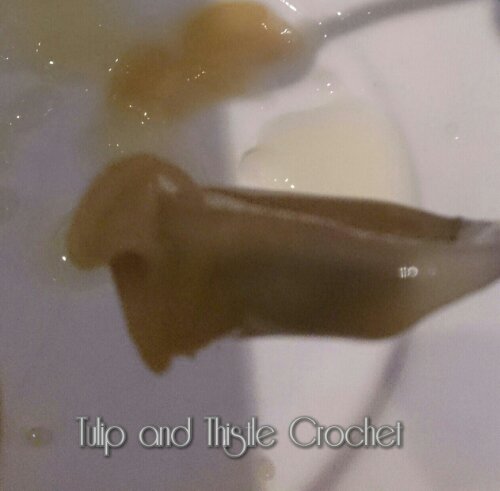
Test the mixture by scooping some mixture out of the pot and putting it in the glass of water. When the mixture makes a sort of ball shape (I tried to show it in the above photo).

Now that the mixture is ready, here is the part where you can earn an extra piece of tablet.

Take the pan off the heat. Using the long handled wooden spoon, you need to beat the mixture with pure muscle.

Please be careful for splashes.

You need to beat until the mixture is smooth, approximately 10-15 minutes.

image

Now quickly pour the mixture into the buttered baking tray.

image

I can’t pour mine in the one go due to the weight of the pot and my height so try and get someone to help with this part.

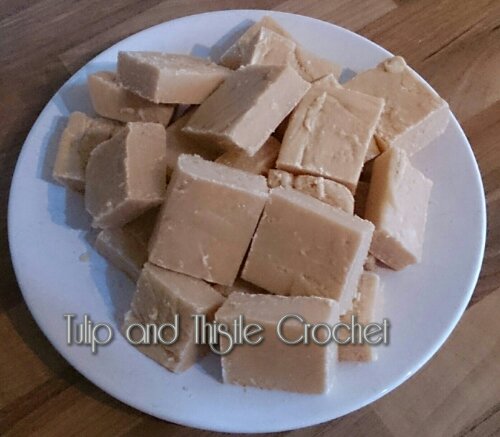
Let the tablet cool for about 20 minutes and cut your portions already. This will ensure nice clean cuts…. Unless you would like the “rustic” effect 😉

image

image

image

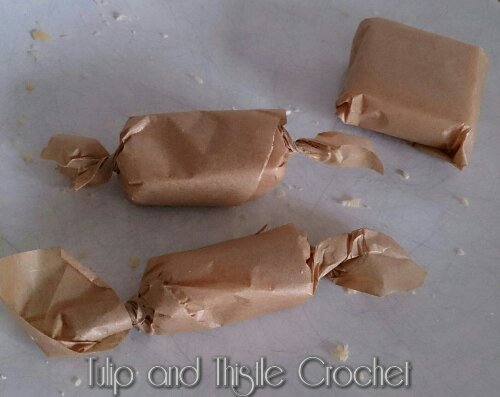
A few ways that I have presented the tablet

image

image

image

image

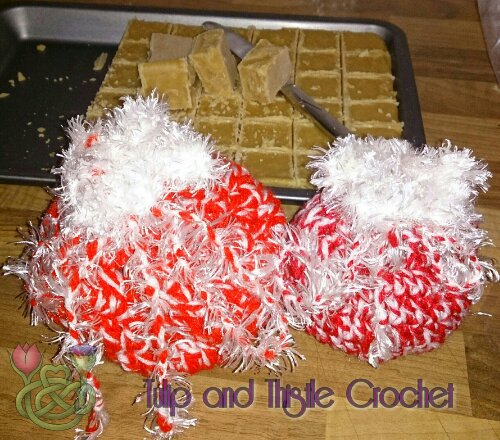
I quickly ccrocheted two wee pouches to hold the tablet for Christmas gifts.

For reference, the varying colours of the making of tablet

image

The author takes no responsibility for burns, weight gain or health issues,arising from this delicious sweetie 😉

It has been a while…

HI !!!!
We have arrived back to normality…… Whatever that is.
School has started again.

The 2013 life list hasn’t exactly turned out as we had wished for.  
Here is a reminder of the list;

The 2013 checklist :  Taken from the very first post I wrote on here:

  • Moving to Dublin
  • Restarting my Early Childhood Education honours degree
  • Turning 40 *tick*
  • Husband graduating  *tick*
  • Having a family filled summer *tick*

As you can see, there are two items on the list that have not been ticked.


Unfortunately I wasn’t successful in transferring my degree to Dublin this year,  There has also been a serious lack of jobs or Masters for a first class honours graduate.  So, the plan to move has been moved to the  2014 list.

We are a bit sad that our dreams couldn’t be fulfilled this year but we are more determined than ever to move east side next Summer.

It makes complete sense to stay put for the extra year.  Tulip and his friend from class are in the process of starting a business.  

Shamrock one has been discharged from speech therapy and the Ear Nose and Throat Department at hospital. This is huge news as we have been on this road since he was 3 years old.  His hearing is good and with this his speech has improved immensely.

Shamrock 2 starts “big” school next year so that will be a clean break for her.

I plan to apply to my preferred institute next year at the first opportunity I can get.  In the meantime, my crochet has proved to be incredibly popular.  I had to start an order book in order to remember all the items that were ordered.  As it stands now, the orders are still coming in and there is a significant waiting list.  I am absolutely delighted!

Tulip has been on the road today to finalise things for his business.  He popped into our derelict cottage during this road trip and phoned me straight away.  There are seemingly buckets full of blackberries on the lane leading to our cottage, just waiting to be picked.

Guess what the next blog will be about 😉

Must get on with my orders.  Chat soon 😀

Coming of age

In 8 days time I will have left my 30’s.  This milestone seemed like so far away and now it is here….
Not sure how I feel about it.  I certainly don’t feel as old as I had imagined I would all those years ago.

I am mad busy washing, drying and folding clothes in order to get back to the caravan for “The Final Countdown”

For the benefit of the young ‘uns out there…..

Watch this 

From Saturday I have my family arriving! I seriously cannot wait! It will be the first time all the family will be together at the same time.  We can’t count the Christmas we were together as Shamrock 2 was still cooking.  The excitement is bubbling and I fear that I will be a squealing wreck by the time they all arrive.

In the meantime to take my mind off the reunion I will show you some of the photos I took in the last couple of weeks.  

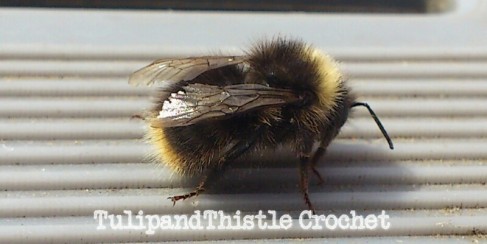
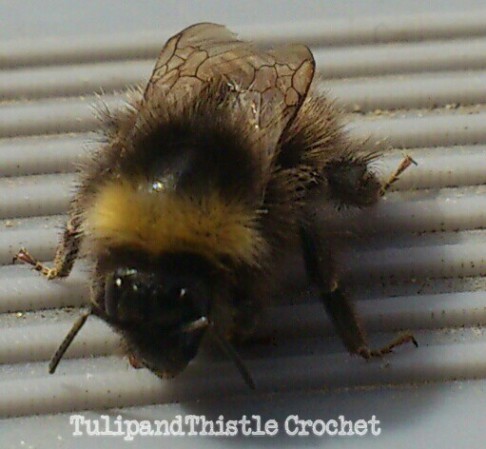
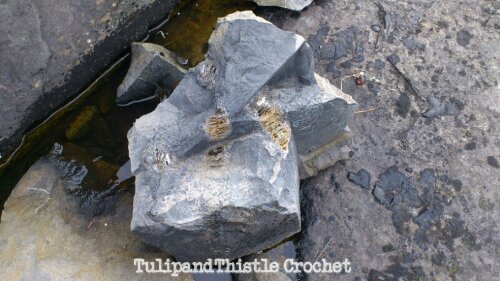
At the campsite we go to, there have been loads of bees in the area and they have joined me whilst sitting, drinking coffee and crocheting in the sun. I have some cracking shots.

Image

Image

Image

Image

The campsite is amazing for kids.  They go off all day long with their friends and we only see them when they are thirsty or hungry.  The way childhood should be.
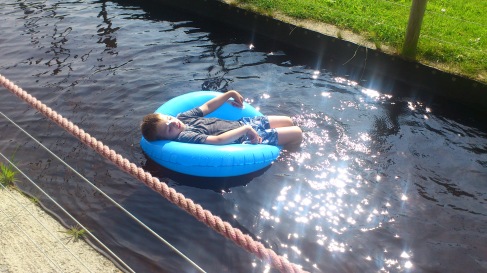
Shamrock 1 wanted to show his cousins how he enjoys the “Lazy River”

Image

As usual, when the kids are entertained/playing I get on with my orders and my ongoing project. I had to bring my “whole” stash along with me (although I couldn’t justify taking all of my yarn)

Image

Acrylic stash

Image

Image

Cotton stash

Image

Ongoing project.  A throw for my folks’ caravan

Image

Progress report

ImageImageImageImage

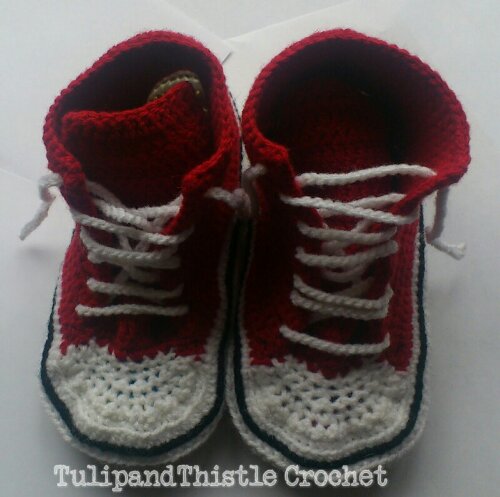
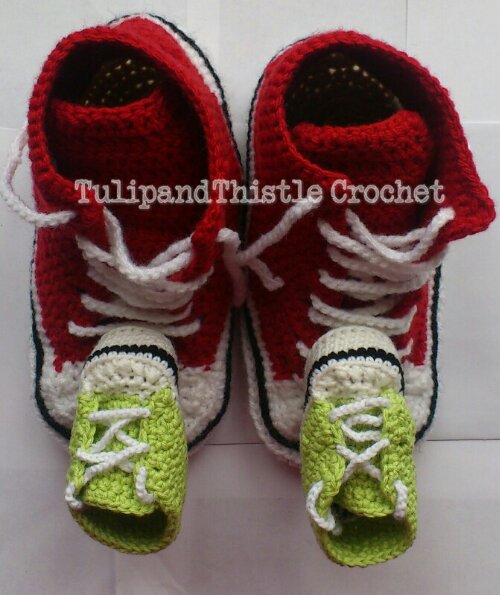
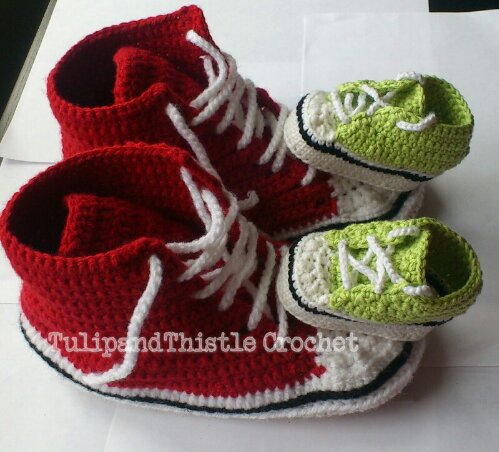
Photo shoot of the boots available to order on my Facebook page here

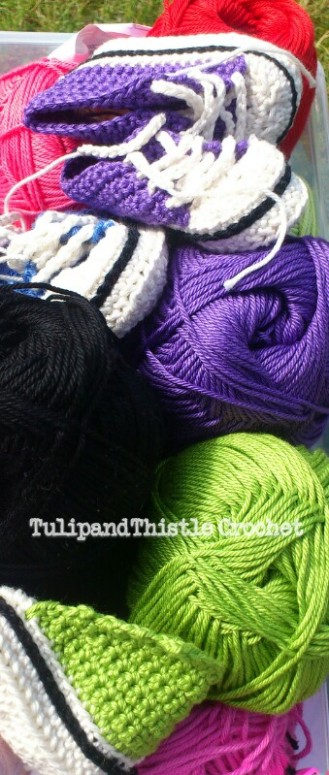
These booties have become my best seller.  My plan was to make children and adult’s high top slippers.  I am currently waiting on a delivery of non slip glue for soles so that I can start making the order of 6 pairs of children’s slippers that I have already.  Not to the mention the whole load of baby ones that need to be completed.

On that note. Must rush and carry on with the orders and packing.  I won’t have a lot of internet over the next few weeks.  

Next time I come here I will be a 40 year old *gulp* 😉

Made a Lego bag for easy tidying (with photos)

My husband always talked about a storage/ tidy bag which can help cut tidy time.
It sounded perfect and exactly what we needed to help keep the Boxes and boxes of Lego under control.

We couldn’t source suitable fabric locally so when we were in Dublin we popped into Ikea to have a look at their fabric.
The fabric I needed had to be sturdy to allow Lego to become mobile so that we could take it to the caravan in the Summer.

The Mum in Law brought her sewing machine to let me have a go and to help make the bag.

Ikea didn’t have what I was looking for…. Until I reached one of my favourite departments, the “Discount Corner” (I am Scottish after all, not to mention married to a Dutchman ;))

Right at the back there was a whole pile of material and stuffing. In amongst this was a settee cover… It was big, red and a sturdy type of material.

We held it open and saw that we could take off the atm parts and we would be left with a straightforward shape which we needed to work with.
If we were clever we wouldn’t need to use the sewing machine. I am not much of a sewer.
I then remembered that I could buy eyelets, the ones used for curtains. When buying them I came across the eyelet border.

Fast forward a couple of months, we finally managed to put it together.

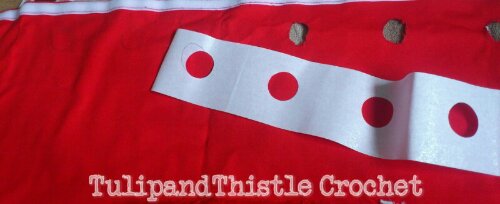
First, I cut one huge piece of fabric and placed the (already cut to size eyelet border) along one edge. I drew circles inside the circles of the border.

image

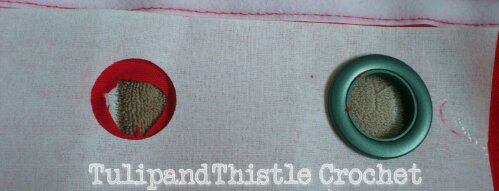
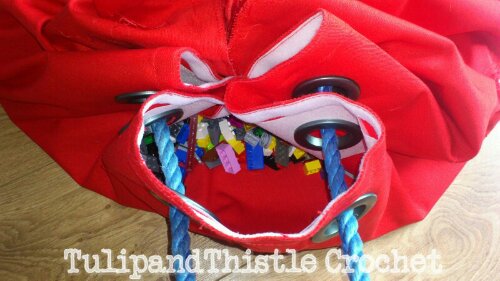
When the circles have been cut out, line up the holes, place the opened eyelet under and over the holes and press until you hear a click.

image

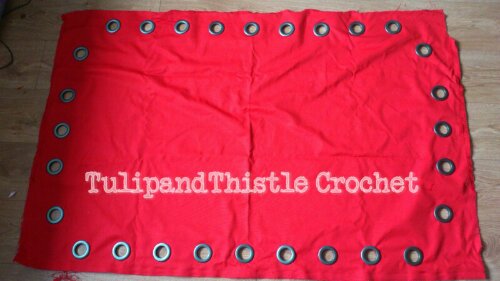
Carry this on all around until you have the desired amount.

image

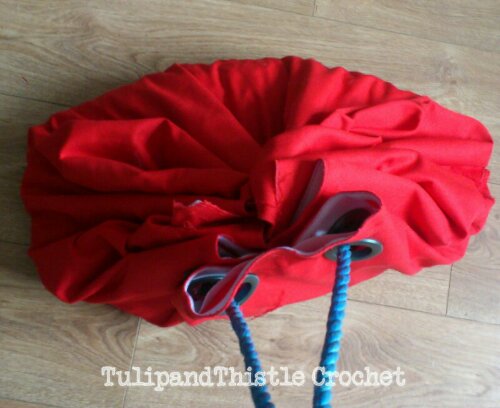
This is the opposite side of the finished piece of material.

Shamrock one was helping pub them on whilst Shamrock 2 used “her hammer” to make sure they were secure.

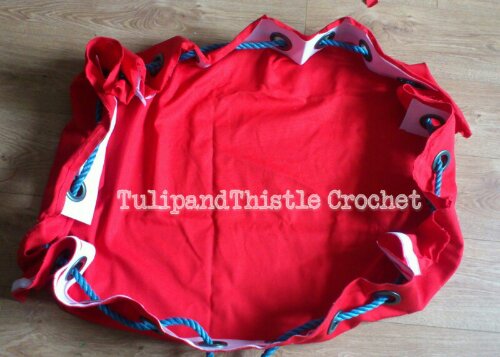
Tulip found the rope which was to become the drawstring and we all helped thread it through.
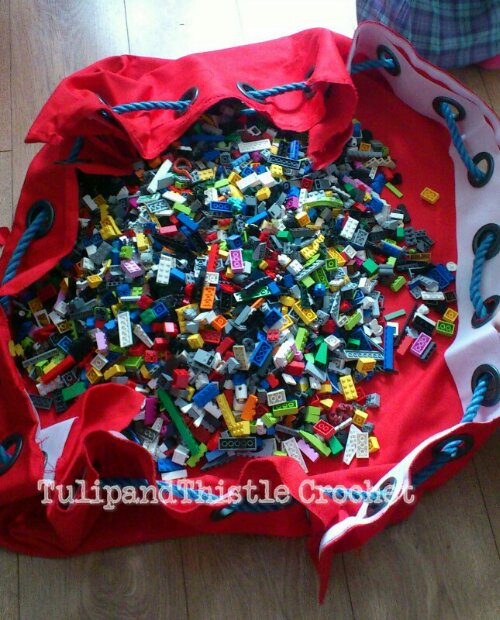
I liked how the sides still stood when the rope wasn’t let go too far open. This will make sure the Lego doesn’t get spread around too far.

image

I need to find a way that we can adjust the tension of the rope easily.

Now it was time to test it out and fill it with Lego

image

One box first to see how it would cope with that load. Then another… We couldn’t test out any more as the kids had already dived in and were playing with the Lego before the photoshoot finished.

image

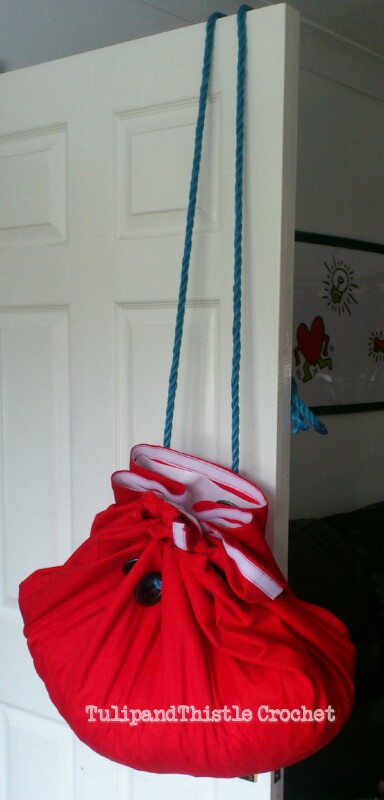
Tidying up went just as smoothly as playing with it.

image

image

I need to finish off the edges for aesthetic purposes but I am pretty pleased with the result.

Next step a bigger one, first it will have to endure caravan play.

Viral Slippers

Following on from the huge high of the previous post, a few days later I received an email that would burst our bubble.

I wasn’t accepted to transfer my degree to the place I thought I had the best chance. At the beginning of the week we were certain of our move east side but this put the spanner works.  I am still waiting of notification from another school so the fingers are still crossed.

Otherwise I am readily available to work in a wool shop

At the same time I was completing an order for my crochet page that you can see here. It was a slog to work out how to do them justice but after crocheting followed by unravelling to nearly the start to trying again. I have notes but they make no sense to me anymore 😀

image

Soon, I will be making another pair just so that I can write it out step by step, maybe with pictures…

I was still a bit disappointed about our plans potentially being derailed but I finished the order.  I seriously fell in love with them.

After posting the photograph of the adult slippers, it went viral.  In a few days the photo had reached 2,100 people!  What a tonic to pull a person out of the doldrums.

Since the photo was posted I have had various orders for baby slippers to match the adult ones.  Which you will see here.

image

image

From here, I wonder if there will be a call for crochet Jimmy Choo slippers 😉

Smiling the whole day long….

Today is a very very good day.

Exam results were released this was morning. Tulip was out so I asked if I could check for him – I think I was more anxious than him.  After an age of “This page cannot be loaded” and watching that circle going round and around I went to make a coffee.
Should I mention that I had the 2 laptops and the netbook trying to get into the results page?  Maybe best not show how sad I am 😉

Coffee in hand, wee shamrock #2 watching me pacing with a worried expression on her face probably thinking “Parents are from Pluto” the screen finally showed the results page.  Cue loud squeal and a whole lot of muttering to myself I finally reached the actual results.

You know when you are so desperate to find something out that you just cannot make sense of the letters, words and numbers in front of you? Yes that is exactly what happened.  One forced deep breath later, I saw the line that would determine our future

“First Class Honours”

021


I am so very proud of my husband!  This also means that our dream to move east side is very much in our reach. *happy happy happy*

wpid-IMG_20130617_073432_wm.jpg

To celebrate he was allowed to make the steak, his favourite meal with whiskey sauce ❤
wpid-IMG_20130617_073620_wm.jpg


The 2013 checklist :  Taken from the very first post I wrote on here:

  • Moving to Dublin
  • Restarting my Early Childhood Education honours degree
  • Turning 40
  • Husband graduating  *tick*
  • Having a family filled summer

Mmmmm strawberries!

In the last wee while I have been working on crochet orders and new lines for my Facebook page that you can find here. With every order, I have had to try out new techniques so it has been a lot of fun.

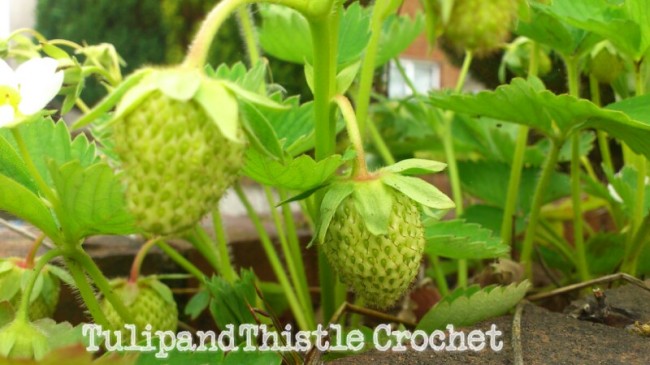
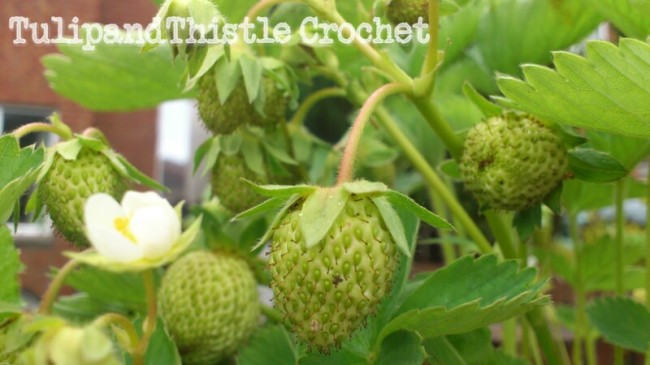
Last year, we planted herbs and strawberries in the wall at the front of the house. We didn’t expect them to last too long but the herbs are still alive and to our surprise the strawberries are appearing now.  They have been completely neglected until now…. but look….

Image


Image


I am determined that this year I will make strawberry shortcake. Wonder if I can make them in the caravan?

This is the recipe I plan to use, courtesy of Nigella

Ingredients

for the shortcakes

  • 325 grams plain flour
  • ½ teaspoon salt
  • 1 tablespoon baking powder
  • 5 tablespoons caster sugar
  • 125 grams unsalted butter (frozen)
  • 1 large egg (beaten)
  • 125 ml single cream
  • 1 large egg white (lightly beaten)

for the filling

  • approx. 300 grams strawberries
  • 1 tablespoon caster sugar
  • 3 drops balsamic vinegar (optional)
  • 250 ml double cream (or creme fraiche)

Method

  1. Preheat the oven to 220ºC/gas mark 7/425ºF.
  2. Mix the flour, salt, baking powder and 3 tablespoons of the sugar in a bowl. Grate the butter into these dry ingredients and use your fingertips to finish crumbling the butter into the flour. Whisk the egg into the cream, and pour into the flour mixture a little at a time, using a fork to mix. You may not need all of the eggy cream to make the dough come together, so go cautiously.
  3. Turn the dough out onto a lightly floured surface, and roll gently to a thickness of about 2cm / ¾ inch. Dip a 6½ cm / 2½ inch round cutter in flour and cut out as many rounds as you can. Work the scraps back into a dough, re-roll and finish cutting out  you should get 8 in all. Place the shortcakes about 2½ cm / 1 inch apart on a greased or lined baking sheet, brush the tops with the egg white, and sprinkle them with the remaining 2 tablespoons of caster sugar. If it helps with the rest of your cooking, or life in general, you can cover and refrigerate them now for up to 2 hours.
  4. Bake for 10-15 minutes, until golden-brown, and let them cool for a short while on a wire rack. Meanwhile, crush half the strawberries with the spoonful of sugar and the few drops of balsamic vinegar if using, and halve or quarter the remaining strawberries, depending on their size. Whip the double cream, if you’re using.
  5. The shortcakes should be eaten while still warm, so split each one across the middle and cover with a spoonful of the crushed strawberry mixture, a few halved or quartered strawberries, then dollop some whipped cream or creme fraiche on top, and set the top back on.

I hope to blog photos of these when I make them.

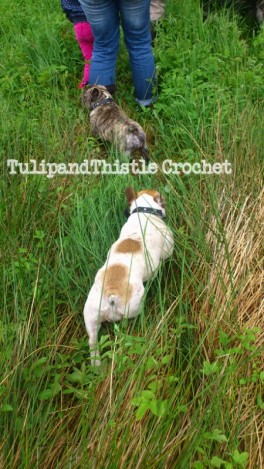
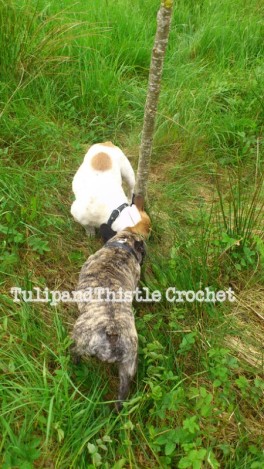
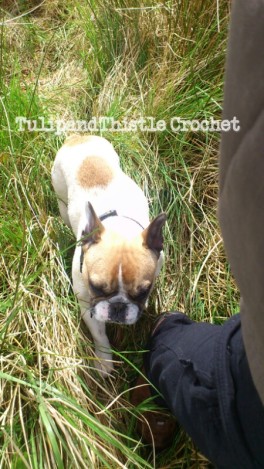
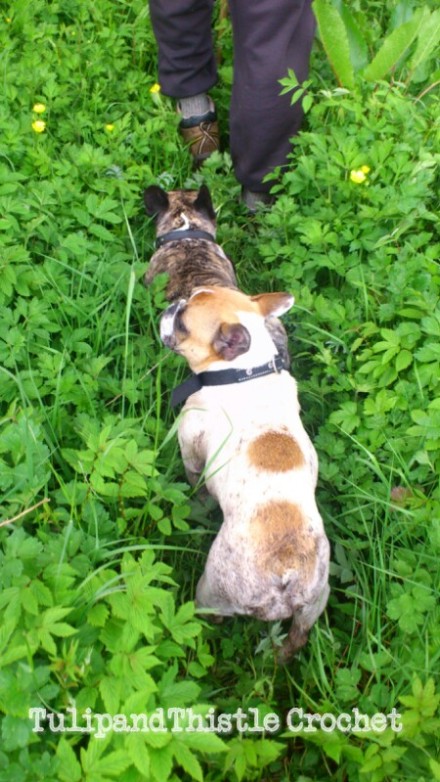
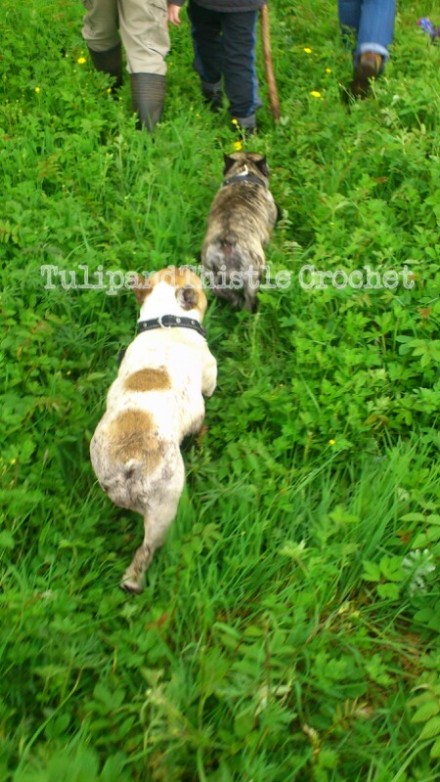
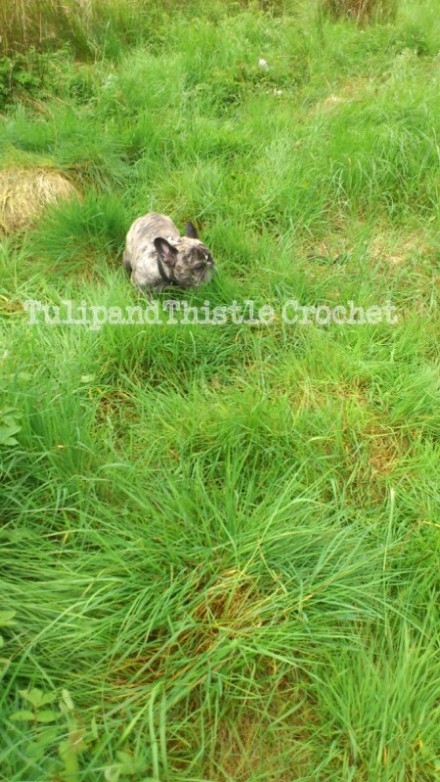
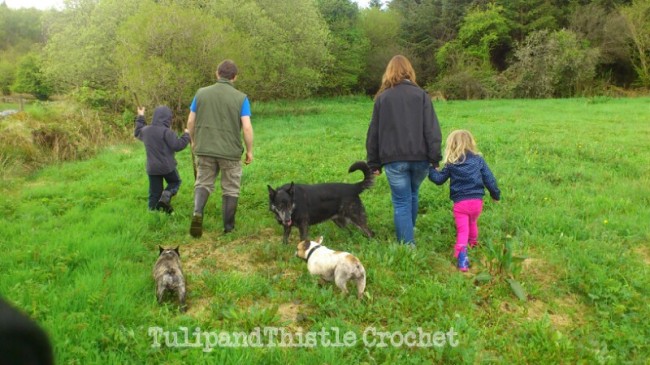
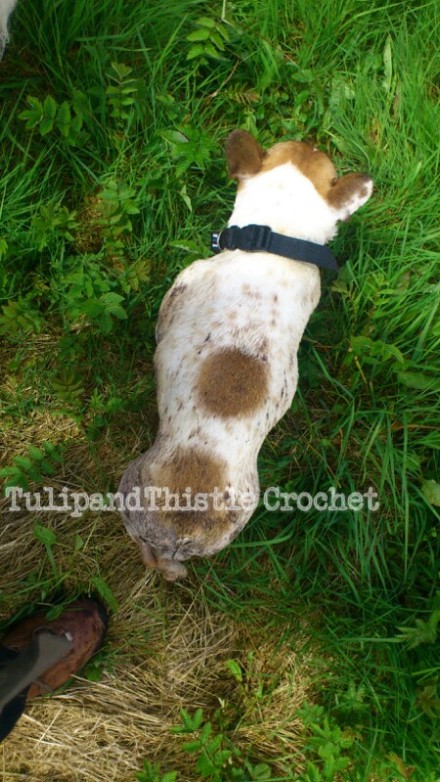
Family finding frogs with Frenchies and Friends

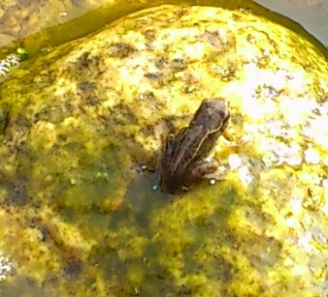
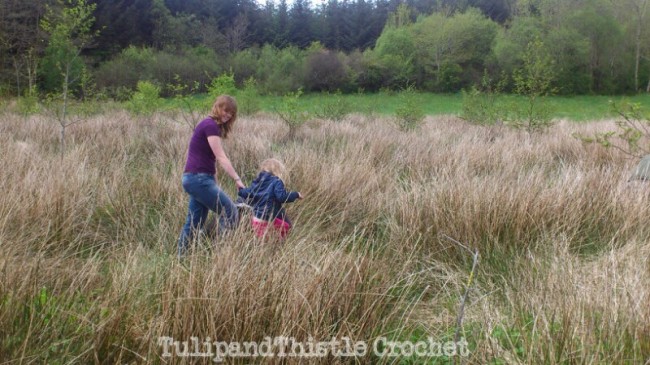
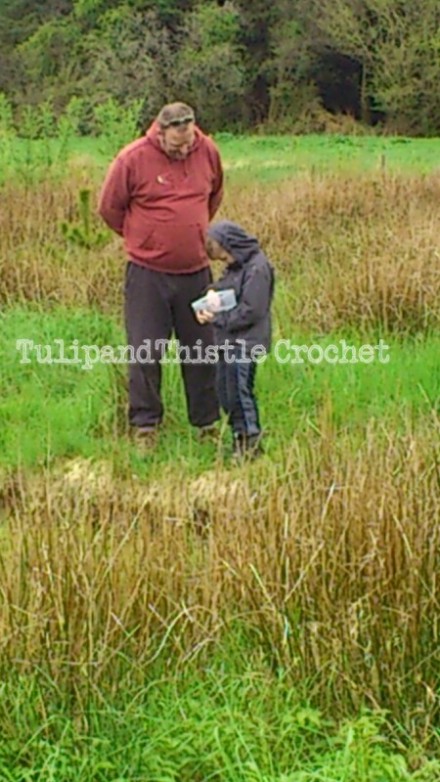
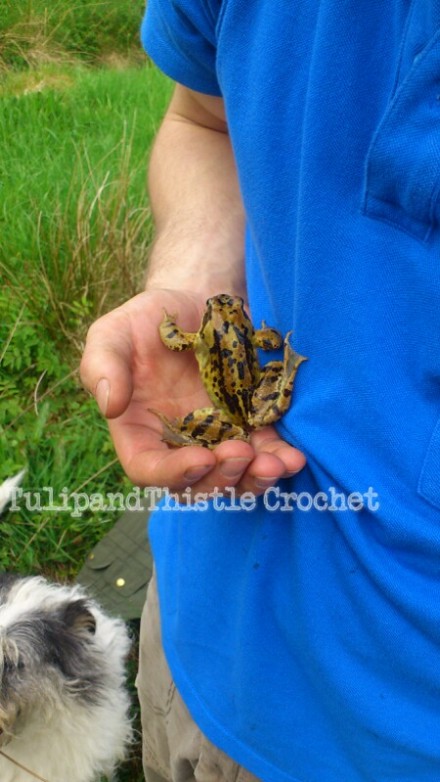
We were invited to a friends’ parents’ house.  Our friend had dug out a pond on the grounds and there were frog and tadpoles.

The house was really in the middle of nowhere, through a gate in between 2 houses and down a beaten track.  We got stuck halfway up so I had to take over the driving whilst the hubster pushed to get us back on the track.  The commentary from the back seat was hilarious, talk about DRAMA! 

Shamrock 1(4 year old) – “OH MY GAWD!”

Shamrock 2 (7 year old) – ” I knew we shouldn’t have come here”

And on it went whilst I was edging the car forward and hubster was pushing with all his might living up to the bumper sticker
“I would rather push a Volvo than drive a Ford”

Holding my breath just a little bit longer we arrived at the house. The house and grounds were amazing, I did not imagine it would look how it did.  It was like driving into a secret garden. 

Image


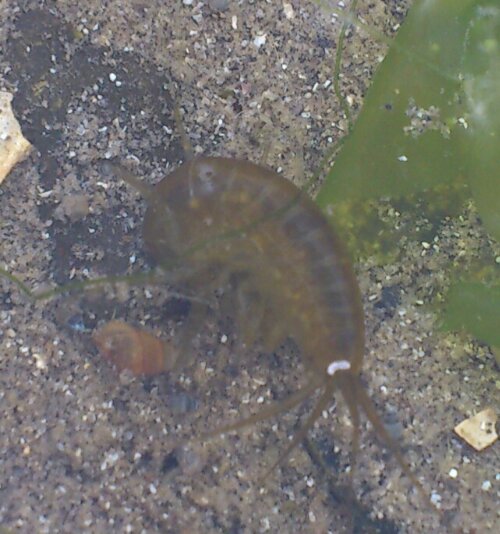
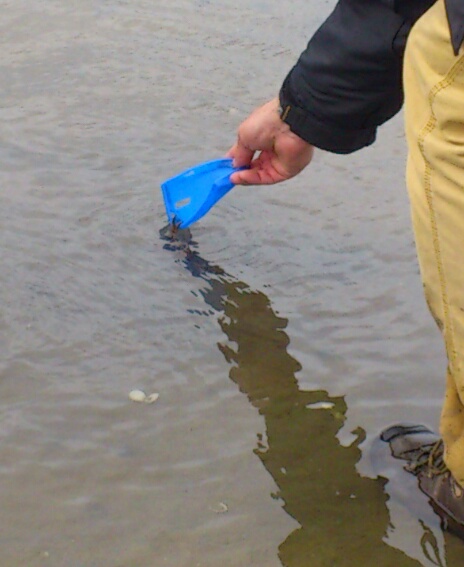
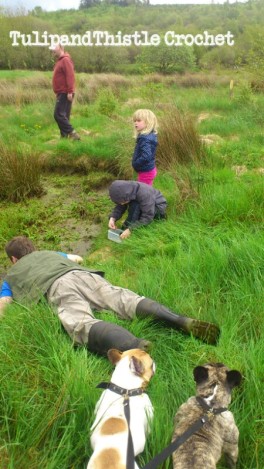
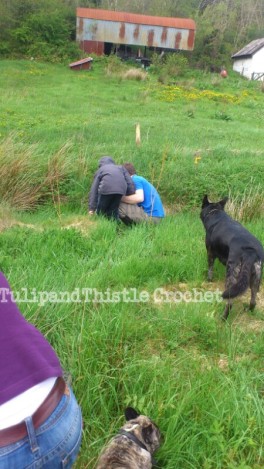
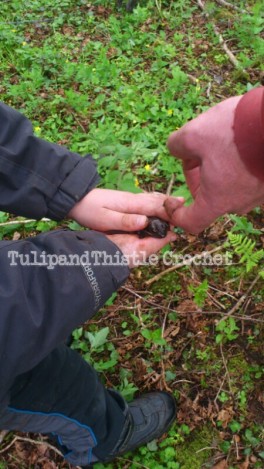
Our first mission was to look through the swamp *cough* I mean pond to look for the tadpoles to show the kids.

Image


ImageImageImageImageImageImageImageImageImageImageImageImage


ImageImageImageImageImageImageImageImageImageImageImageImageImageImageImageImageImage

Image


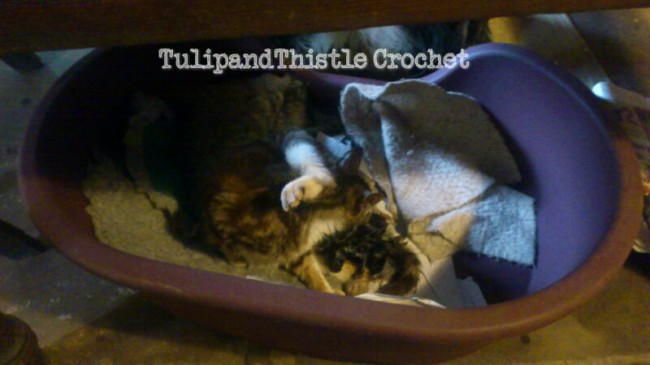
As if the amazing adventure wasn’t enough, as we were in the house the cat began meowing all of a sudden.  Shamrock 1 kept looking at the cat (who was laying in the dogs basket) and asking what she was licking.  I presumed the cat was doing what all cats do and just said that she was cleaning herself. After the 4th time asking and looking intently, I had a look.  I don’t even know what it looked like but saw a wee black shape writhing about then out popped another! This cat was literally having kittens!  The kids were delighted!

Image


Don Charisma

because anything is possible with Charisma

heretherebespiders

blowing through the cobwebs of my mind

Sarah Ockwell-Smith

Childcare Author and Parenting Expert

whittymomma

The many adventures of a mom with crochet hooks, a sander and shovel.

the loopy home...

...because beige is boring

Tulip and Thistle Crochet

With wee shamrocks & fleur-de-lis in the mix

HodgePodge Crochet

.....because crochet is what you live for.

BabyCalm - Surviving the Fourth Trimester

Calmer Babies and Happier Parents

Ma Twitter Photies

Third incarnation, seeing as Posterous is shutting down.

kristinskrazyknits

A dork and her yarn, who could ask for more?

this is... The Neighborhood

the Story within the Story

Cedar River Knits

Handmade Stitch Markers and Original Knitting Patterns